GitHub Personal Access Token Guide
A GitHub Personal Access Token (PAT) is required for GitCMS to access your private repositories. You can also set it up for public repositories if you prefer.
This guide will walk you through creating a secure token with the exact permissions needed.
Why You Need a Token
- For Private Repositories: Required to read and write content
- For Higher Rate Limits: Increases API requests from 60/hour to 5,000/hour
- Secure Access: Better than using your password, and can be revoked anytime
Token Types
GitHub offers two types of tokens. We recommend Fine-grained tokens for better security.
Fine-grained Tokens (Recommended) ✅
- More Secure: Specific repository and permission access
- Limited Scope: Only access what you explicitly allow
- Expiration: Can set automatic expiration dates
- Best for: Production use, shared projects, team environments
Classic Tokens (Legacy)
- Broader Access: Repository-wide permissions
- Less Granular: Cannot limit to specific repositories
- No Expiration Required: Can be set to never expire (not recommended)
- Best for: Personal projects, quick testing
Creating a Fine-grained Token (Recommended)
Follow these steps to create a secure, scoped token for GitCMS.
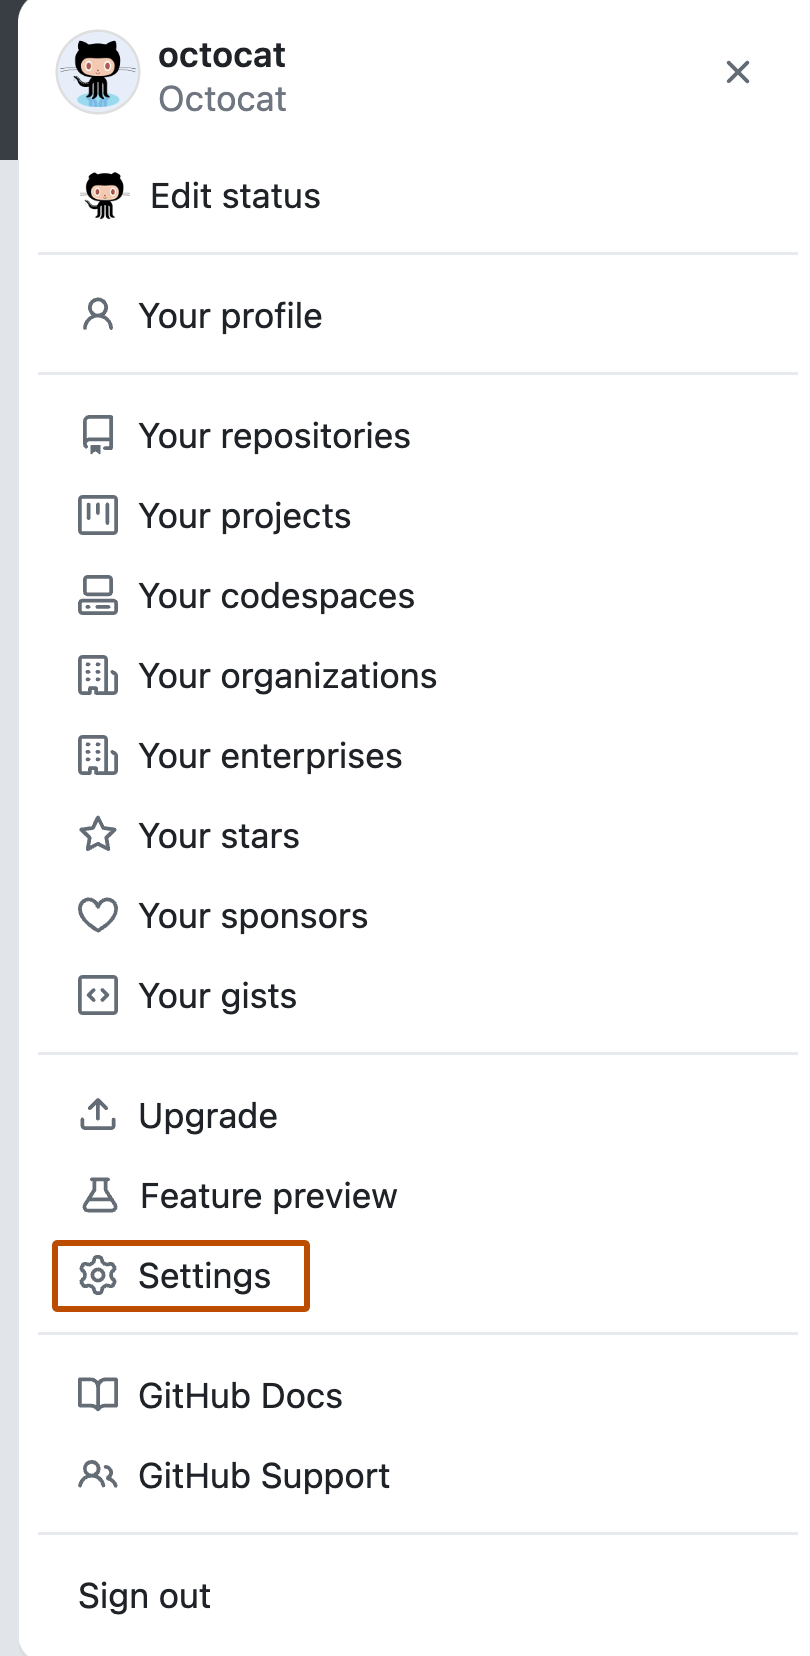
Step 1: Access Token Settings
- Sign in to GitHub at github.com
- Click your profile picture in the top-right corner
- Select Settings from the dropdown menu
- Scroll down in the left sidebar and click Developer settings
- Click Personal access tokens → Fine-grained tokens
Step 2: Generate New Token
- Click the "Generate new token" button
- You may be asked to confirm your password or use 2FA — this is normal and adds security
Step 3: Configure Token Details
Token Name
Give your token a descriptive name to remember its purpose:
GitCMS - [Your Project Name]Examples:
GitCMS - Personal BlogGitCMS - Company WebsiteGitCMS - Documentation Site
Expiration
Choose an expiration date for security:
- 30 days — For testing and development
- 90 days — For active projects (recommended)
- Custom — Set your own date
- No expiration — ⚠️ Not recommended for security
Security Best Practice
Set an expiration date! You can always generate a new token when it expires. This limits the damage if your token is accidentally exposed.
Description (Optional)
Add notes about where and how this token is used:
Used for GitCMS Client SDK to manage blog contentStep 4: Repository Access
Choose which repositories this token can access:
Option A: Specific Repositories (Recommended)
- Select "Only select repositories"
- Click the "Select repositories" dropdown
- Search and select the repository you want to use with GitCMS
- You can select multiple repositories if needed
Best Practice
Only grant access to the repositories you actually need. This minimizes risk.
Option B: All Repositories
- Select "All repositories" if you want GitCMS to access all your repos
- ⚠️ Only use this if you trust the application completely
Step 5: Repository Permissions
Scroll down to "Repository permissions" and configure the following:
Required Permissions for GitCMS
| Permission | Access Level | Why It's Needed |
|---|---|---|
| Contents | Read and write | Create, read, update, and delete content files |
| Metadata | Read-only | Get repository information (automatically included) |
| Commit statuses | Read-only | View commit history and status (optional) |
How to set permissions:
- Find "Contents" in the permissions list
- Click the dropdown next to it
- Select "Read and write"
- Ensure "Metadata" is set to "Read-only" (usually default)
Optional: Additional Permissions
If you plan to use advanced features, you may also want:
- Pull requests (Read and write) — For review workflows
- Workflows (Read and write) — For CI/CD integration
- Issues (Read and write) — For content planning
Most users only need Contents and Metadata.
Step 6: Generate Token
- Scroll to the bottom of the page
- Click the green "Generate token" button
- Important: GitHub will show your token only once!
Step 7: Save Your Token
You'll see a screen with your new token:
github_pat_11AAAAAAA0AAAAAAAAAAAA_XXXXXXXXXXXXXXXXXXXXXXXXXXXXXXXXXXXXXXXXXXXXXXIMPORTANT - Save Your Token Now!
Copy this token immediately and store it securely:
✅ Do:
- Save it in a password manager (1Password, LastPass, Bitwarden)
- Store it in environment variables (
.envfile for local, secrets for production) - Keep it in a secure note app with encryption
❌ Don't:
- Commit it to Git repositories
- Share it in Slack, Discord, or email
- Save it in plain text files in your project
- Post it in public places or documentation
If you lose it, you'll need to generate a new token. If it's compromised, revoke it immediately!
Step 8: Copy and Store
- Click the copy icon next to the token
- Open your password manager or secure storage
- Create a new entry: "GitHub Token - GitCMS"
- Paste the token
- Add notes about which repository it's for
Using Your Token
In the Admin Panel
The Admin Panel uses GitHub OAuth for authentication, so you typically don't need to manually enter a token. However, if you need to:
- Go to Settings in the Admin Panel
- Paste your token in the GitHub Token field
- Click Save
In the Client SDK (Code)
Environment Variable (Recommended)
Create a .env.local file in your project:
# .env.local
GITHUB_TOKEN=github_pat_11AAAAAAA0AAAAAAAAAAAA_XXXXXXXXXXXXXXXXXXXXXX
Then use it in your code:
import { GitCMS } from '@git-cms/client';

const cms = new GitCMS({
  repository: 'yourusername/your-repo',
  token: process.env.GITHUB_TOKEN, // ← Token from environment variable
});
Server-Side Only
Never expose your GitHub token in client-side code! Only use tokens in:
- Server-side API routes
- Build-time scripts (Next.js, Vite)
- Node.js servers
- Serverless functions
In Vercel, Netlify, or Other Platforms
Add your token as an environment variable:
Vercel:
- Go to your project → Settings → Environment Variables
- Add
GITHUB_TOKENwith your token value - Redeploy your site
Netlify:
- Site settings → Environment → Environment variables
- Add
GITHUB_TOKENwith your token value - Redeploy your site
Creating a Classic Token (Alternative)
If you prefer the legacy token type:
Step 1-2: Navigate to Classic Tokens
- Go to Settings → Developer settings → Personal access tokens
- Click Tokens (classic)
- Click "Generate new token" → "Generate new token (classic)"
Step 3: Configure Token
- Note:
GitCMS - [Your Project Name] - Expiration: Choose a duration (90 days recommended)
- Select scopes:
- ✅
repo(Full control of private repositories) - ✅
user:email(Access user email addresses)
- ✅
Step 4: Generate and Save
- Click "Generate token"
- Copy the token immediately (you won't see it again!)
- Store it securely as described above
Security Best Practices
✅ Do's
- Use fine-grained tokens when possible
- Set expiration dates on all tokens
- Limit repository access to only what's needed
- Rotate tokens regularly (every 3-6 months)
- Store tokens in environment variables, never in code
- Use different tokens for different projects
- Revoke tokens immediately if compromised
❌ Don'ts
- Never commit tokens to Git (check with
git log -S "github_pat") - Never share tokens via email, chat, or public forums
- Don't use tokens in client-side JavaScript
- Don't use the same token for multiple applications
- Don't set tokens to never expire unless absolutely necessary
Token Permissions Explained
Here's what each permission allows GitCMS to do:
Contents (Read and Write)
Read Access:
- 📖 Fetch content files from your repository
- 📁 List files and directories
- 📜 Read schemas and media
- 🔍 Search through content
Write Access:
- ✏️ Create new content files
- 🔄 Update existing content
- 🗑️ Delete content files
- 💾 Commit changes to repository
Metadata (Read-only)
- 📊 Get repository information
- 🌿 List branches
- 👤 View collaborators
- ⚙️ Check repository settings
This permission is automatically included and cannot be disabled.
Troubleshooting
"Bad credentials" Error
Problem: Your token is invalid or has expired.
Solution:
- Check if your token has expired in GitHub settings
- Verify you copied the entire token (they're long!)
- Generate a new token and update your environment variables
- Restart your development server after updating
.envfiles
"Not Found" or "403" Error
Problem: Your token doesn't have the right permissions.
Solution:
- Go to GitHub → Settings → Developer settings → Fine-grained tokens
- Click on your token name
- Under "Repository permissions", ensure:
- Contents is set to "Read and write"
- The correct repository is selected
- Click "Update token"
- Restart your application
"Rate limit exceeded" Error
Problem: You've made too many requests.
Solution:
- Without token: 60 requests/hour per IP
- With token: 5,000 requests/hour
- Add your token to increase the limit
- Wait for the rate limit to reset (shown in error message)
Token Not Working
Checklist:
- [ ] Token is saved in
.env.localor.envfile - [ ] Environment variable name is correct:
GITHUB_TOKEN - [ ] You restarted your development server after adding the token
- [ ] Token has not expired
- [ ] Token has Contents: Read and write permission
- [ ] Token has access to the correct repository
Revoking a Token
If your token is compromised or you no longer need it:
- Go to Settings → Developer settings → Personal access tokens
- Find your token in the list
- Click "Revoke" or the trash icon
- Confirm the revocation
After Revoking
Applications using this token will immediately stop working. Make sure to generate a new token if you still need access.
FAQ
How long should I set the expiration?
Recommendation: 90 days for active projects. This balances security with convenience.
Can I regenerate an expired token?
No, but you can create a new token with the same permissions. We recommend saving your token configuration so you can quickly recreate it.
What happens if I lose my token?
You'll need to generate a new token. There's no way to view a token after it's been created.
Can I have multiple tokens?
Yes! You can create multiple tokens for different projects or purposes. This is actually a good security practice.
Is it safe to use tokens in GitHub Actions?
Yes! GitHub provides a special GITHUB_TOKEN that's automatically available in Actions. You don't need to create your own token for CI/CD workflows.
Quick Reference
Fine-grained Token Settings
Token Name: GitCMS - [Project Name]
Expiration: 90 days
Repository Access: Only select repositories → [Your Repo]
Repository Permissions:
  - Contents: Read and write ✅
  - Metadata: Read-only ✅
Environment Variable Setup
# .env.local
GITHUB_TOKEN=github_pat_11AAAAAAA0AAAAAAAAAAAA_XXX
GITHUB_REPO=username/repository-name
Usage in Code
const cms = new GitCMS({
  repository: process.env.GITHUB_REPO!,
  token: process.env.GITHUB_TOKEN,
});
Next Steps
Now that you have your token set up:
- Authentication — Learn about GitHub OAuth
- Configuration — Configure the Client SDK
- Security Best Practices — Keep your token safe
- Getting Started — Start using GitCMS
Need Help?
If you're stuck, check our Troubleshooting Guide or open an issue on GitHub.